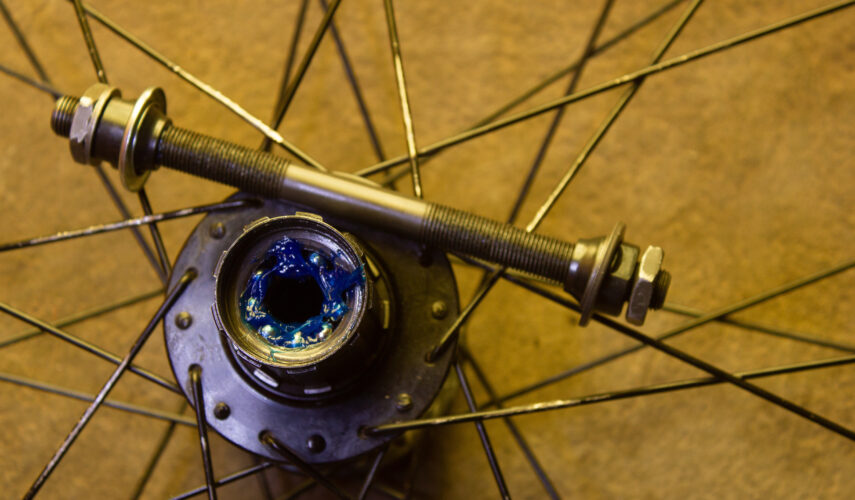
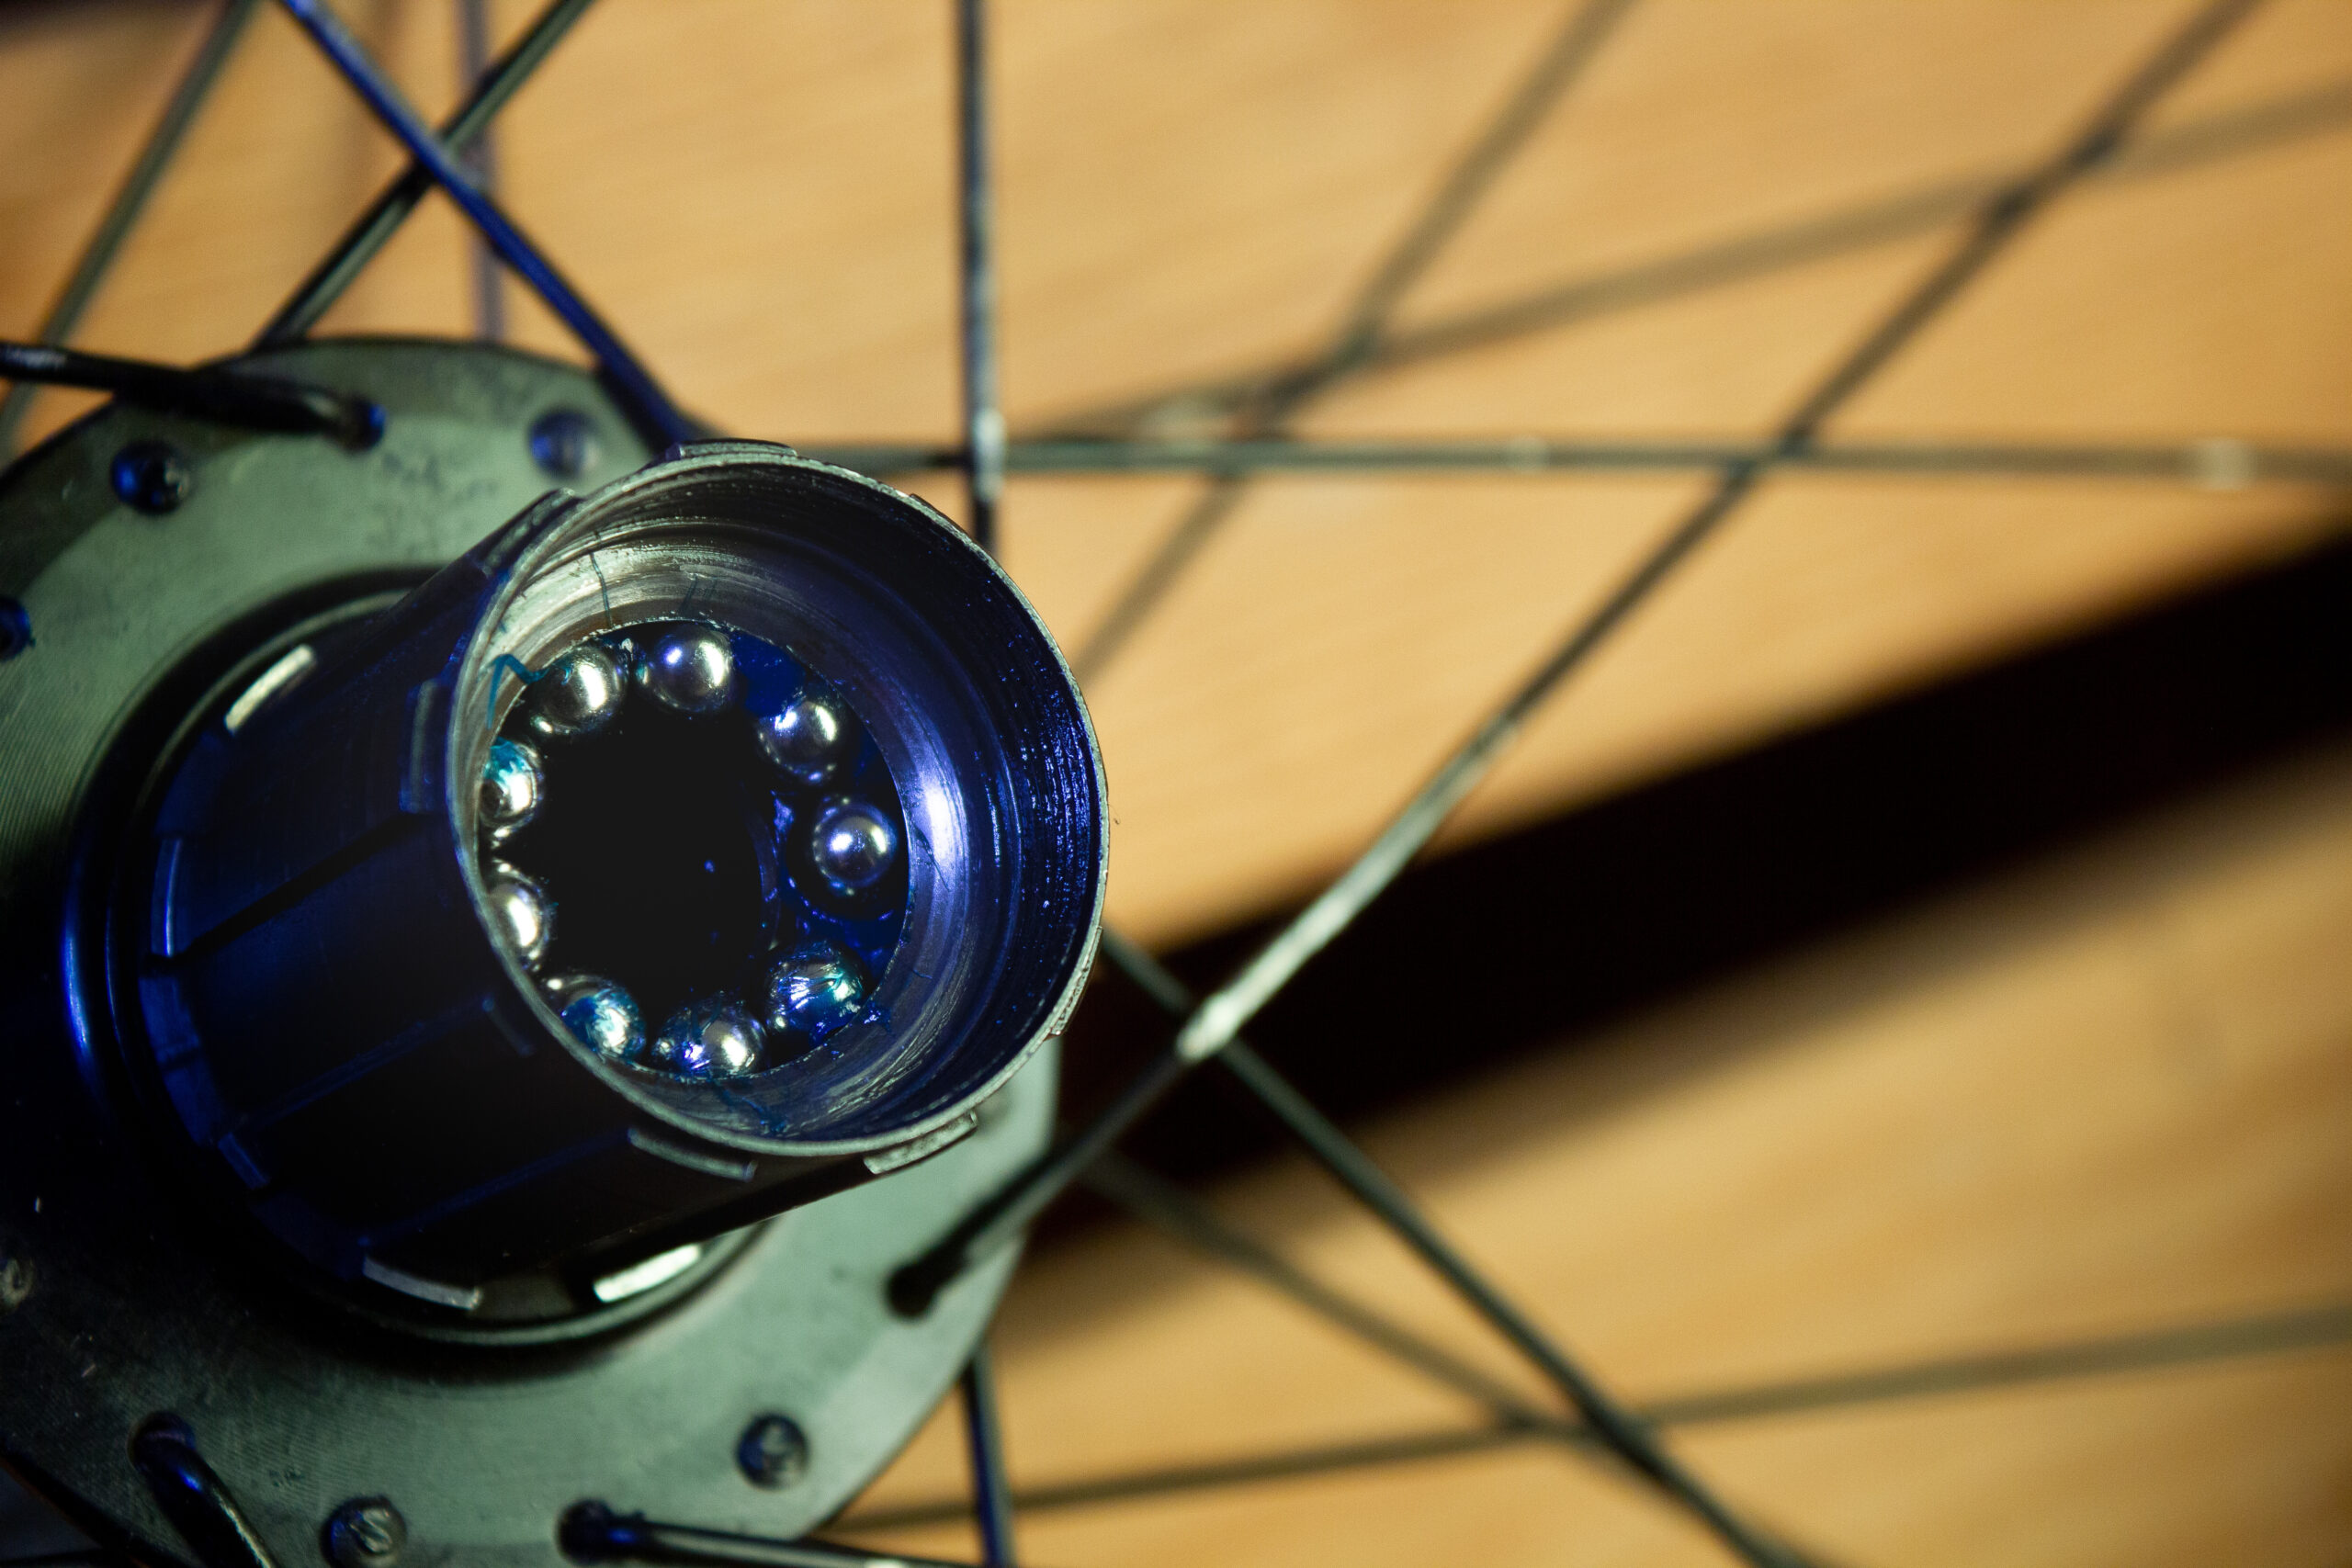
The sealed headset bearings are the most critical part of a bike’s steering system. The function of these bearings is to keep the handlebars and fork straight while transferring the torque from the front wheel to the frame, which in turn transfers it to the rear wheel. If your seals are worn or defective, water and dirt can get into them and cause rusting, corrosion, stiffness or even failure.
Measuring your bike headset bearings is a crucial aspect of bicycle maintenance, and it involves a few distinct steps essential to keeping your ride running smoothly. Understanding these steps will enable you to ensure the optimal performance of your bicycle and extend its lifespan.
- Measure the diameter of the inside race.
- Measure the diameter of the outside race.
- Measure the bearing height.
While the above steps provide a simplified approach to measuring headset bearings, the process may vary depending on the make and model of your bike and the specific type of headset bearings you prefer.
Here at Aire Velo Bearings, we take pride in being committed suppliers of a diverse range of high-quality bicycle bearing options. Our extensive selection ensures you can find the perfect bearing for your bike’s unique specifications. Moreover, we also offer specialised tools that can aid you in keeping your bike in excellent condition throughout the year, making maintenance tasks more straightforward and efficient.
We understand that for some, the thought of replacing bearings within your bike might be daunting. However, we assure you that it’s an essential step in bicycle maintenance and becomes much easier once you understand the process. Whether you’re a seasoned cyclist or a biking enthusiast, our comprehensive guide will walk you through the steps required to measure sealed headset bearings on all types of bikes.
Understanding Headset Basics
Before we dive into the specific standards, let’s briefly cover the fundamentals of a bicycle headset. The headset is a crucial component that enables the fork to rotate smoothly within the frame’s head tube. It comprises several parts, including bearings, cups, and spacers, all working together to facilitate steering and absorb shock from uneven terrain.
Threaded Headsets
Threaded headsets are a traditional standard used for bicycle steering systems. There are two main types:
ISO/English Threaded Headset: The ISO/English threaded headset features threads on the steerer tube and corresponding cups inside the head tube. It is easy to maintain and suitable for older bikes.
Italian Threaded Headset: The Italian threaded headset has a finer threading pitch, allowing for smoother adjustments and precise handling.
Threadless Headsets
Threadless headsets have become common in modern bicycles and offer a cleaner look. There are two types:
External Cup Threadless Headset: This type employs press-fit cups outside the head tube and a stem clamped directly onto the non-threaded steerer tube.
Internal Cup Threadless Headset: The internal cup threadless headset has cups installed inside the head tube, providing a sleek appearance and enhanced steering smoothness.
Integrated Headsets
Integrated headsets combine bearings and cups in different ways for optimised performance and frame strength:
Integrated External Cup Headset: This headset features press-fit cups outside the head tube, with bearings integrated into the frame for increased stiffness.
Integrated Internal Cup Headset: The integrated internal cup headset has both cups and bearings integrated within the head tube, reducing maintenance requirements.
Choose the right headset standard for your bicycle based on your preferences and riding style. Proper installation and regular maintenance are essential for ensuring a smooth and reliable steering experience.
What Do I Measure?
If your bike has a branded headset, it may have an easily identifiable model number that makes sourcing the right replacement bearing easy. If not, then you’ll need to either get in touch with its manufacturer or identify what bearings are needed based on their specs. And if they’re in good condition and all markings can be found outside of them (such as numbers), simply inspect these pieces for this information so no further work is required!
However, the model numbers are small and more than likely become permanently hidden by corrosion or being run loose. Sealed and cartridge bearings are found in many modern bottom brackets and hubs, with three key measurements; external diameter, internal diameter, and height.
Modern sealed headset bearings are typically quite different to those found in your hubs and bottom brackets, which is because the bearings are angular. This allows for off-axis loads that would normally cause them to skip or seize up completely with a ball bearing design.
A headset bearing has those same three measurements as above, but then you need to know the angle of the inner and outer races. It is imperative that these angles be correct for a smooth ride; if not, your bike will shake when you pedal or brake hard! The bicycle industry has commonly stuck with 36º and 45º here – though there are various combinations- so it’s important that they’re measured accurately in order to keep everything running smoothly. Brands such as FSA have long offered to measure tools for this task, but with some knowledge about using vernier callipers (a simple business card can also do!), anyone should be able to measure their own bearings without any difficulty at all.
Measuring Inside, Outside and the Height
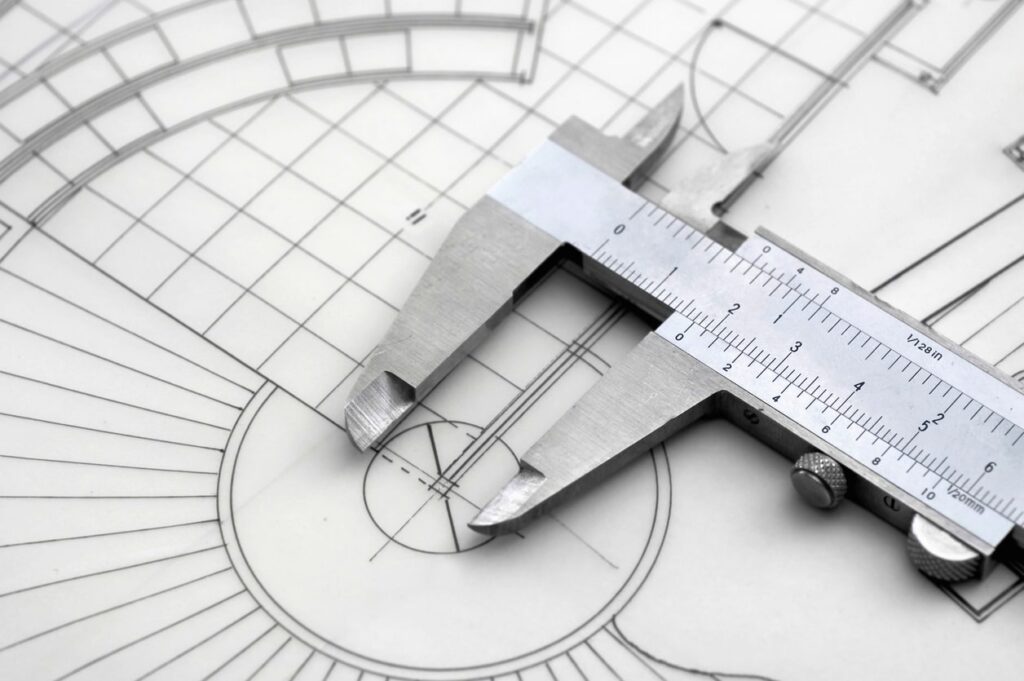
A vernier calliper is an invaluable tool when it comes to precise measurements, especially for decimal points of a millimetre. It proves particularly useful when you need to measure the width or thickness of objects accurately. The vernier calliper is a quick and convenient instrument, especially when an accurate ruler is not readily available.
When using a vernier calliper to measure worn bearings, it’s essential to take note of the three major dimensions of the bearing for proper replacement:
Internal Diameter
To measure the internal diameter of the bearing, follow these steps:
- Open the jaws of the vernier calliper and position the flat inner edges of the calliper against the widest portion inside the bearing.
- Ensure that the calliper is held square to the flat edge of the inner bearing race to obtain an accurate measurement.
- Gently close the jaws of the vernier calliper until they snugly fit inside the bearing.
- Read the measurement from the scale and the vernier scale (if your calliper has one). The vernier scale allows you to read the measurement to an additional decimal point, providing more precision.
External Diameter
To measure the external diameter of the bearing, proceed as follows:
- Open the jaws of the vernier calliper and position the flat outer edges of the calliper against the widest portion outside the bearing.
- Ensure that the calliper is held square to the flat edge of the outer bearing race for accurate results.
- Carefully close the jaws of the vernier calliper until they make contact with the outer surface of the bearing.
- Read the measurement from the main scale and the vernier scale (if applicable) to get a precise value.
Bearing Height
Measuring the height of the bearing is relatively straightforward:
- Close the jaws of the vernier calliper.
- Gently clamp the calliper over the bearing, making sure it holds the bearing securely in place.
- Read the height measurement from the scale and the vernier scale if present.
It’s crucial to ensure that you’re taking measurements with steady hands and that the calliper remains square to the bearing’s flat edges to obtain accurate results. Precision is vital when measuring bearings, as even slight differences can lead to incorrect replacements and compromise the performance of the equipment or bicycle.
Once you have gathered these three major dimensions of the bearing (internal diameter, external diameter, and height), you’ll be well-prepared to find the appropriate replacement bearing that matches these specifications. This ensures smooth functioning and extends the life of your machine or bicycle.
How to Measure Headset Bearing Angles
Measuring bearing angles on bicycles is a relatively straightforward process. Here’s a step-by-step guide to help you with the measurement:
Step 1: Position the Bike – Place the bicycle on a flat and level surface, ensuring it is stable and won’t tip over during the measurement process. If necessary, you can use a bike stand or have someone hold the bike steady.
Step 2: Identify the Reference Axis – For bicycles, the reference axis is the centerline of the bike’s head tube, which houses the headset bearings. The head tube is the front part of the frame that holds the fork and handlebars.
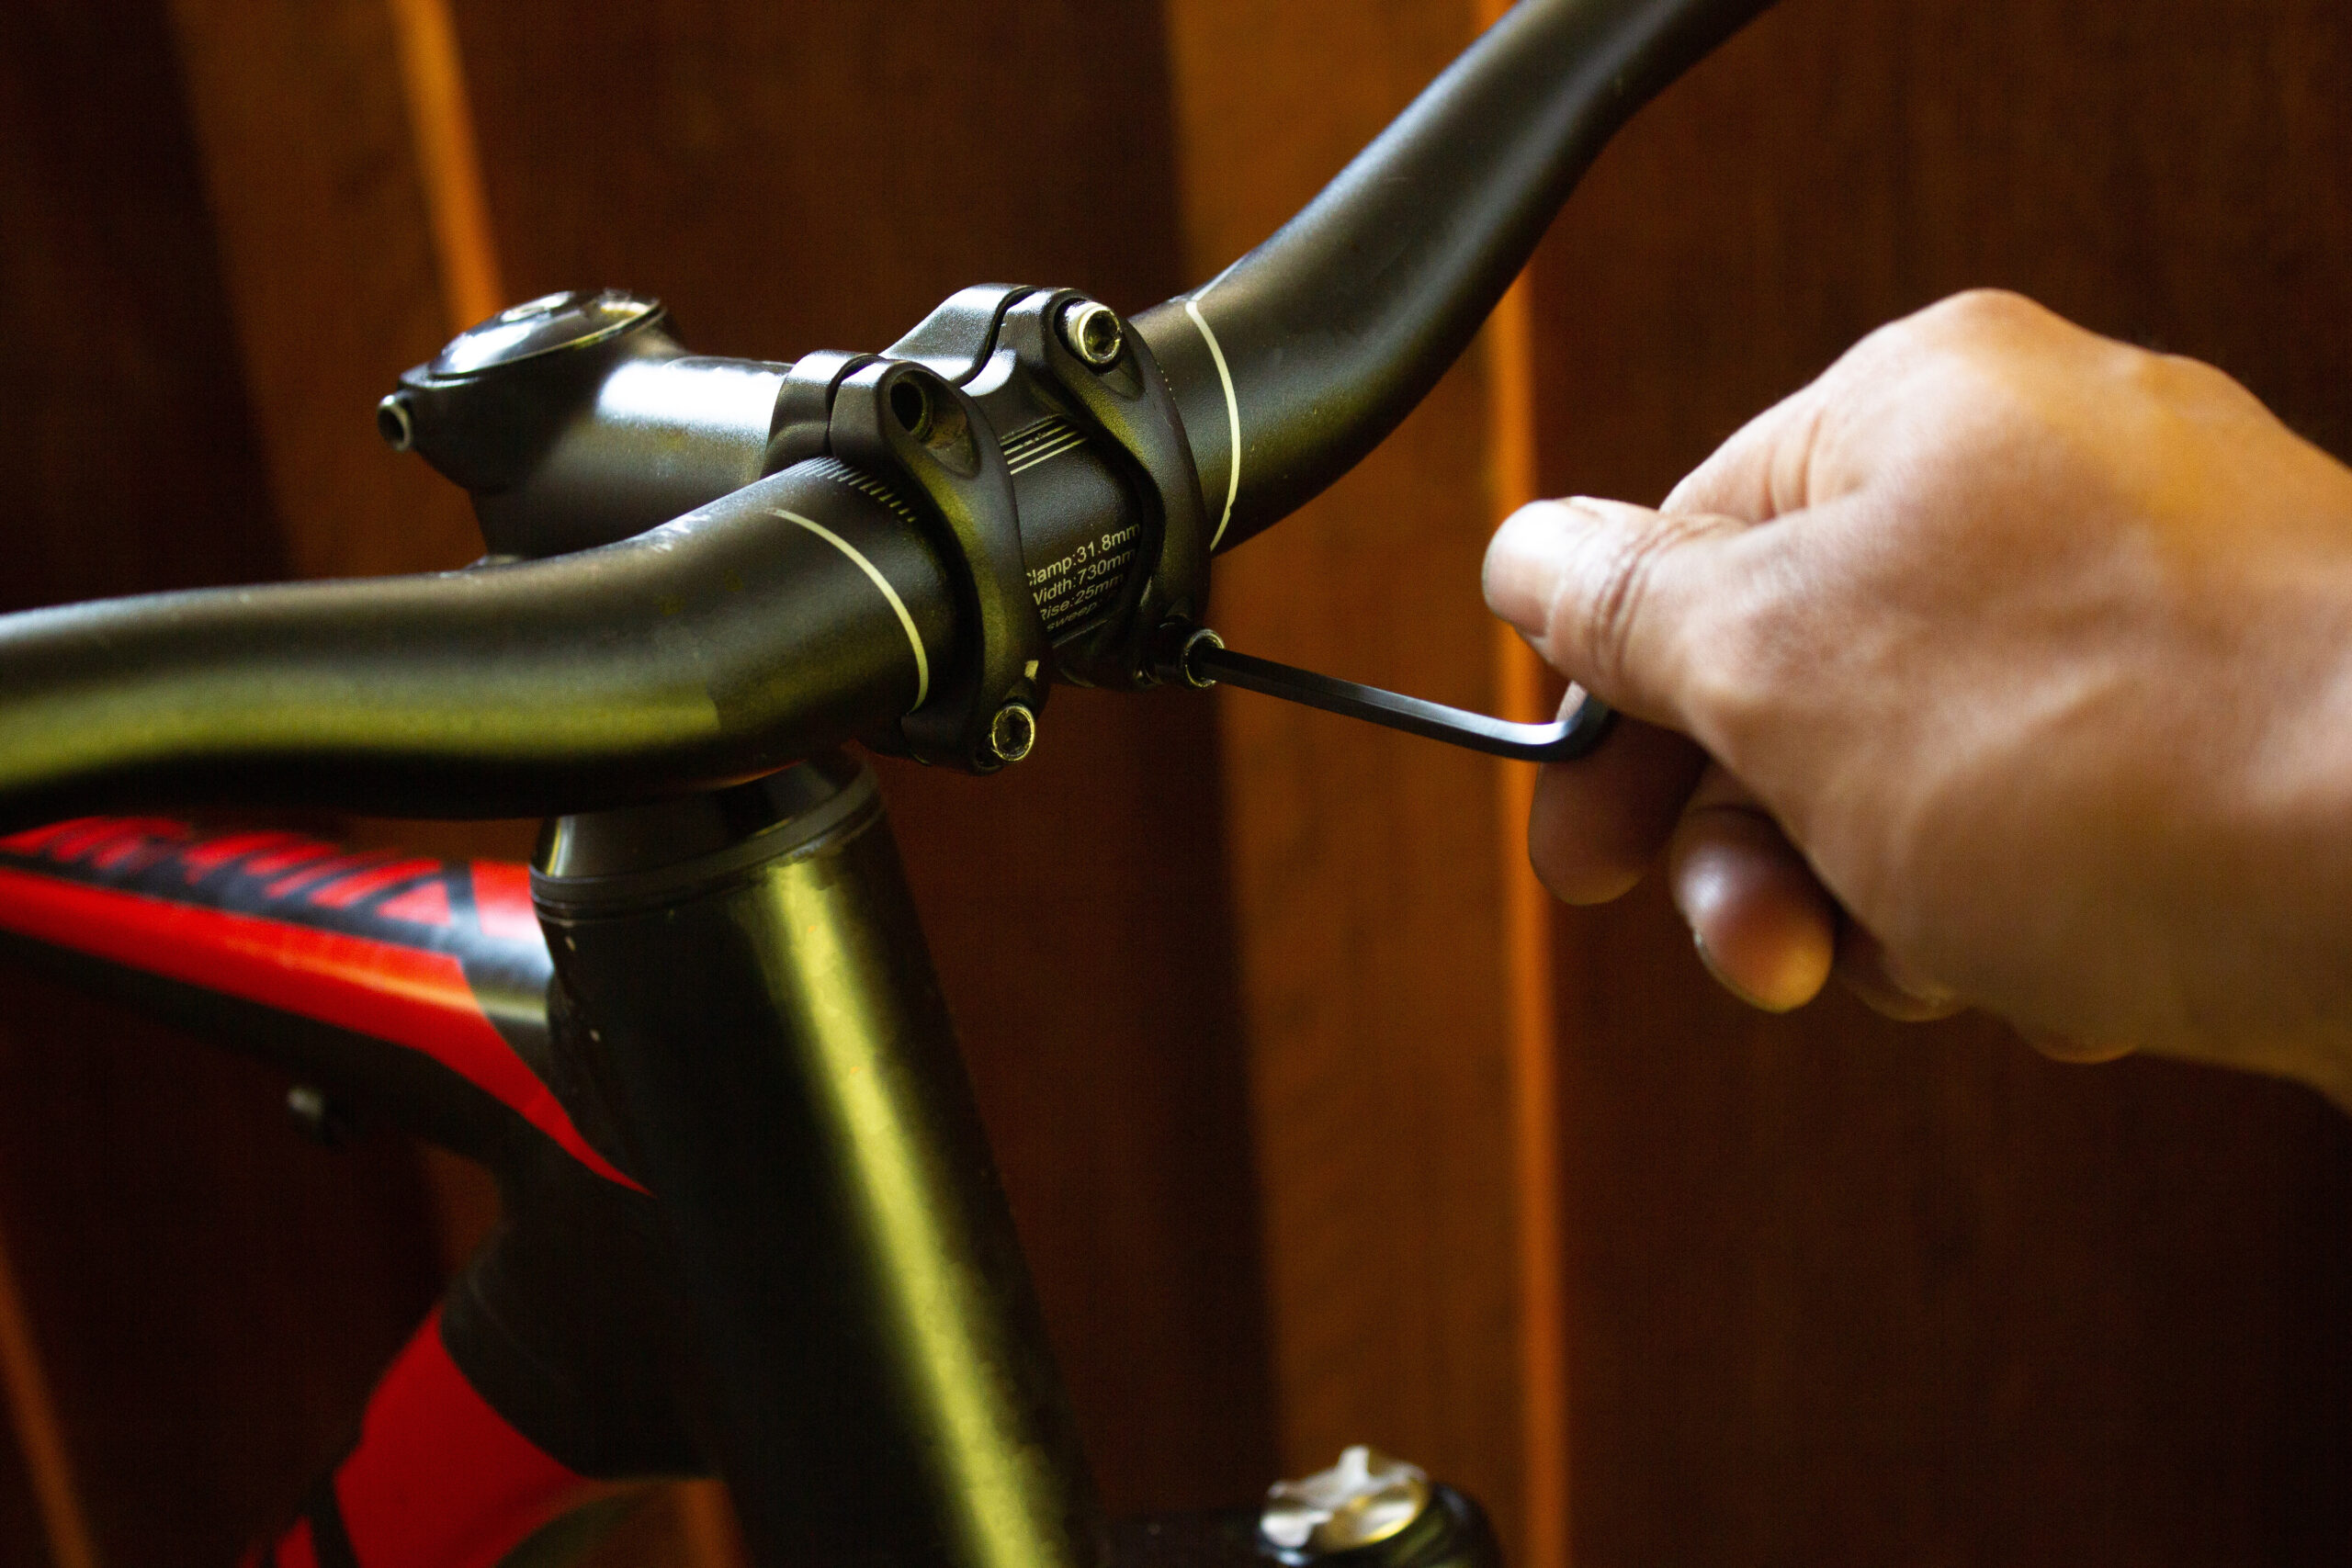
Step 3: Loosen Stem Bolts (if applicable) – If your bike has a threadless headset, you may need to loosen the stem bolts slightly to allow the handlebars and fork to rotate. However, do not remove the stem entirely, as this could make the bike unstable.
Step 4: Align the Protractor – Place the protractor or angle gauge on a flat surface in front of the bike, aligning it with the centerline of the head tube. Ensure that the protractor’s zero or baseline is precisely parallel to the reference axis.
Step 5: Align with the Bearing Axis – Gently turn the handlebars and fork until they are straight and aligned with the centerline of the head tube. Make sure that the protractor’s centre or pivot aligns with the rotational centre of the head tube. This will ensure accurate measurements.
Step 6: Read the Angle – Once the protractor is appropriately aligned with the head tube, read the angle indicated on the gauge. The angle is measured in degrees and represents the bearing angle of your bike’s headset.
Step 7: Record the Measurement – Take note of the bearing angle measurement for your reference. Some bikes have a symmetrical angle, which means the measurement will be the same on both sides. In other cases, it might differ slightly, and you should measure both sides independently.
Step 8: Verify Specifications (Optional) – If you have access to your bike’s manufacturer specifications or technical documentation, you can cross-reference your measurement to ensure it falls within the acceptable range. This step is particularly important if you suspect any issues with your bike’s handling or steering.
Step 9: Tighten Stem Bolts (if applicable) – If you loosened the stem bolts in Step 3, make sure to tighten them securely after completing the measurement. Properly tightened stem bolts are crucial for the safety and stability of your bike’s handlebars.
Remember, while measuring bearing angles on bicycles is generally straightforward, it’s essential to ensure accuracy. Precise measurements contribute to optimal bike handling and overall safety. If you encounter any difficulties or uncertainties during the process, consider seeking assistance from a professional bike mechanic or a knowledgeable cycling enthusiast.
Matching the Size
Before delving into the different types of headset bearings, it’s crucial to match the correct size to ensure a seamless fit. Here’s a step-by-step process to help you achieve just that:
1. Measure Your Existing Bearings:
If you’re replacing your bike’s headset bearings, it’s best to start by measuring the existing ones. Use a vernier calliper to measure the internal and external diameters, as well as the height of the bearing. These measurements are essential in identifying the correct size that fits snugly within your bike’s head tube.
2. Check Manufacturer Specifications:
Consult your bike’s user manual or visit the manufacturer’s website to find the recommended headset bearing size for your particular bike model. Cross-reference the measurements you obtained with the manufacturer’s specifications to ensure a match. Manufacturers often provide detailed information on compatible bearings, making it easier for you to find the right size.
3. Seek Professional Advice:
If you’re unsure about the measurements or need assistance, don’t hesitate to reach out to a professional bike mechanic or your local bike shop. They have the expertise to identify the right headset bearing size for your specific bicycle model and can guide you through the selection process.
Common Headset Bearing Types
Headset bearings come in different types, each offering unique features and advantages. Familiarising yourself with these common types will help you make an informed decision:
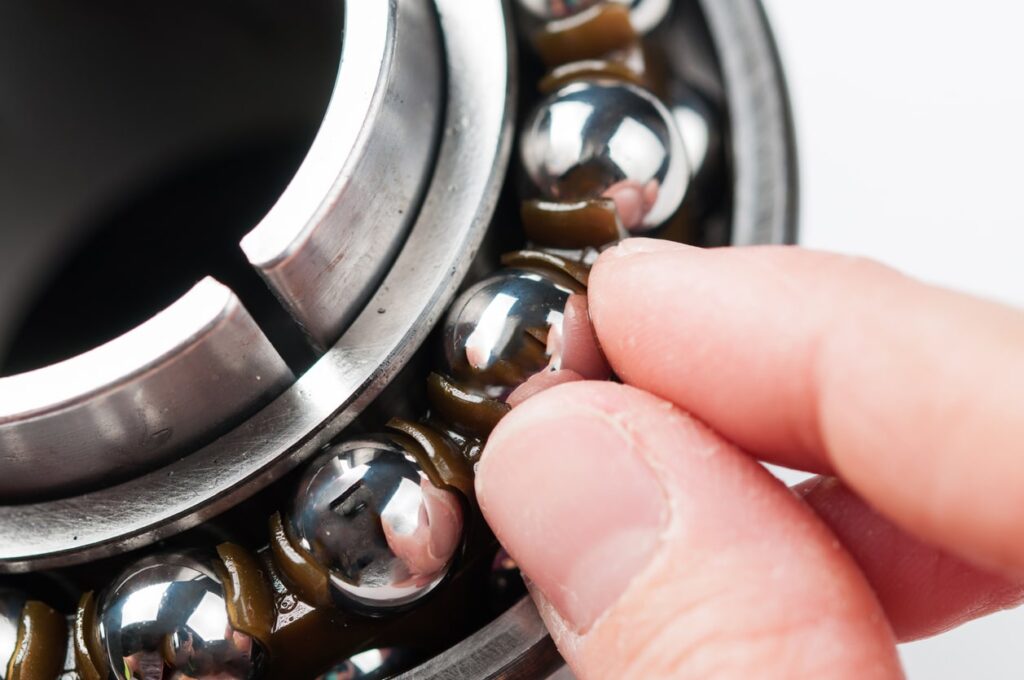
1. Loose Ball Bearings
Traditional loose ball bearings consist of small ball bearings placed inside a retainer or cage. These bearings are affordable and easy to maintain. Regular cleaning and greasing ensure their smooth operation. However, they require more frequent maintenance compared to sealed bearings.
2. Sealed Cartridge Bearings:
Sealed cartridge bearings have become increasingly popular in recent years due to their low-maintenance nature. These bearings are pre-greased and enclosed within a sealed unit, protecting them from dirt and moisture. They offer excellent durability and longevity, making them ideal for riders who prefer less maintenance.
3. Angular Contact Bearings:
Angular contact bearings are designed to handle both radial and axial loads, making them suitable for certain headset designs. They have angled races that allow for better load distribution. These bearings are commonly used in high-end performance bikes where precision and responsiveness are crucial.
4. Integrated Bearings:
Integrated bearings are integrated directly into the frame’s head tube and are commonly found in modern bicycles. These bearings offer a clean aesthetic and often require specific headset cups for installation.
Matching the size and choosing the right type of headset bearings are vital steps in maintaining and upgrading your bicycle. A well-matched and properly functioning headset bearing ensures a comfortable and safe riding experience. Whether you’re a casual rider or an avid cyclist, taking the time to understand these components will greatly enhance your biking journey. So, measure accurately, explore the types available, and keep your bike rolling smoothly!
For Further Information on Headset Bearings, Contact the Team
If you need help measuring your headset bearings, call Aire Velo Bearings. No matter what type of bike you have, we can find the right parts for it! We know that sometimes buying a new set of bearings is not in everyone’s budget and so our experts are always happy to offer their expertise on how to measure them without any cost involved. And if all else fails with figuring out which size will work best for you or your bike, give us a call today. We provide a wide range of bearings from different brands, including Acros, NTN, NSK, and more!
For more information on your bike and keeping it in good condition, check out our blog! It’s full of useful information designed to keep you and your bike safe on all terrain. Some of our highlights can be found below!
What Does NTN Stand For?

If you want a smooth, efficient, and overall enjoyable ride experience on your bicycle, it’s important that some of the key components – bike bearings – are not overlooked.…
What Is The Bottom Bracket on a Bike?
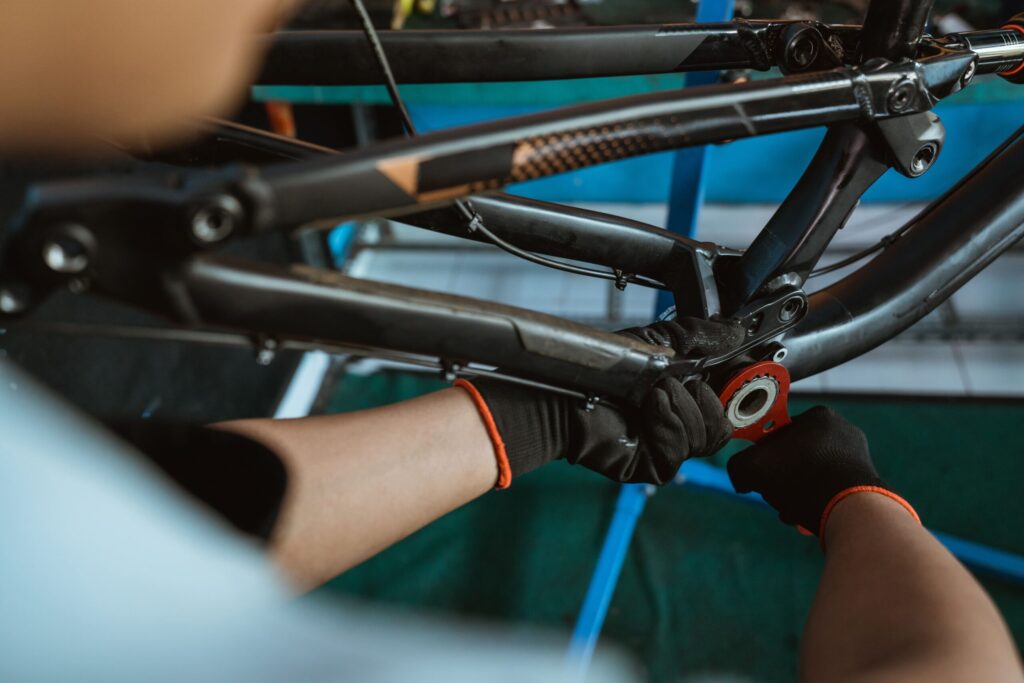
The bottom bracket is a crucial component of a bike’s drivetrain, connecting the crankset to the bike’s frame and allowing the rider to transfer power from their legs to the wheels. The…
How To Prepare Your Bike For Summer

Getting Your Bike Summer Ready With the Summer well on its way, most people are getting their bikes ready to start riding a lot more and venturing to new places. So, when…

