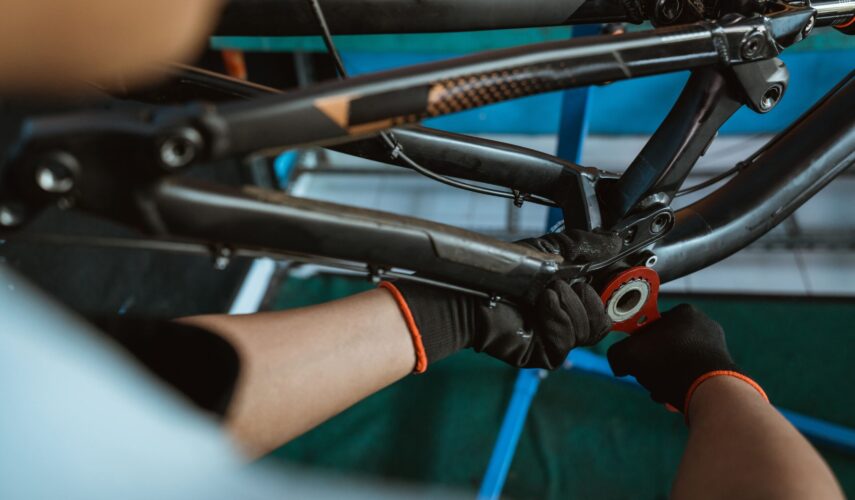
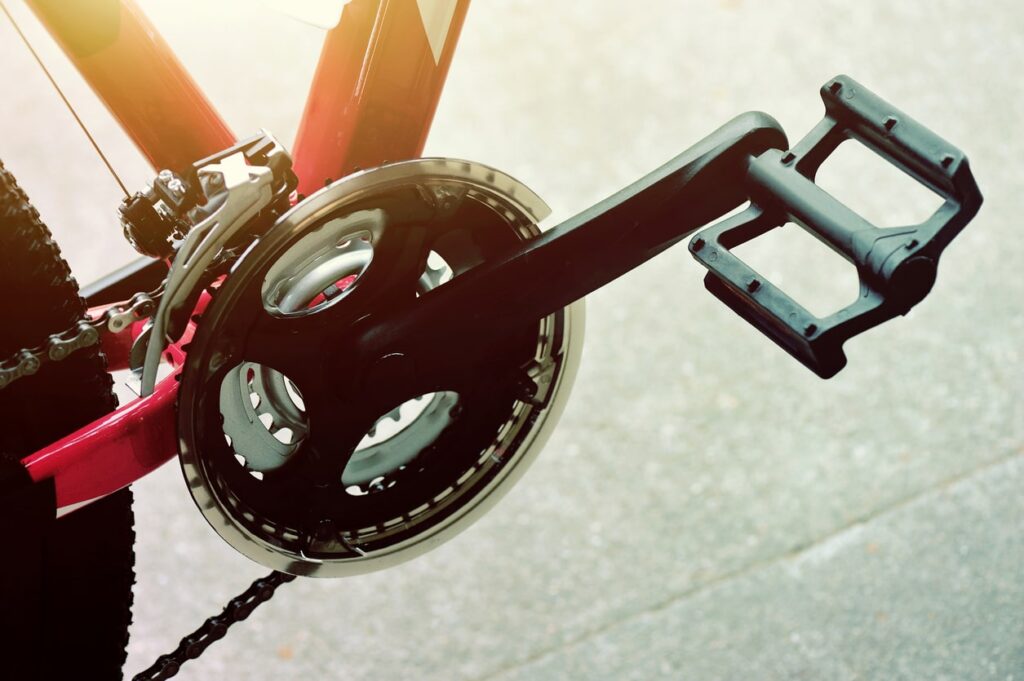
The bottom bracket is a crucial component of a bike’s drivetrain, connecting the crankset to the bike’s frame and allowing the rider to transfer power from their legs to the wheels. The bottom bracket is typically located in the centre of the bike’s frame, just below the pedals.
Here at Aire Velo Bearings, we offer a range of options when it comes to the maintenance and upkeep of your bike, from bottom bracket bearing kits, to supplying headset bearings from reputable manufacturers like Acros, we have it all! Keep reading below for more information on bottom brackets!
Types of Bottom Brackets
When it comes to bottom brackets, there are two main types – threaded and press-fit – each with their own strengths and weaknesses. Threaded bottom brackets are built to last and easy to maintain, but installing them can be a bit of a chore and may require some specialised tools. Press-fit bottom brackets, on the other hand, are lighter and stiffer, but they can be a bit more challenging to service and may require replacing the entire unit instead of just individual parts.
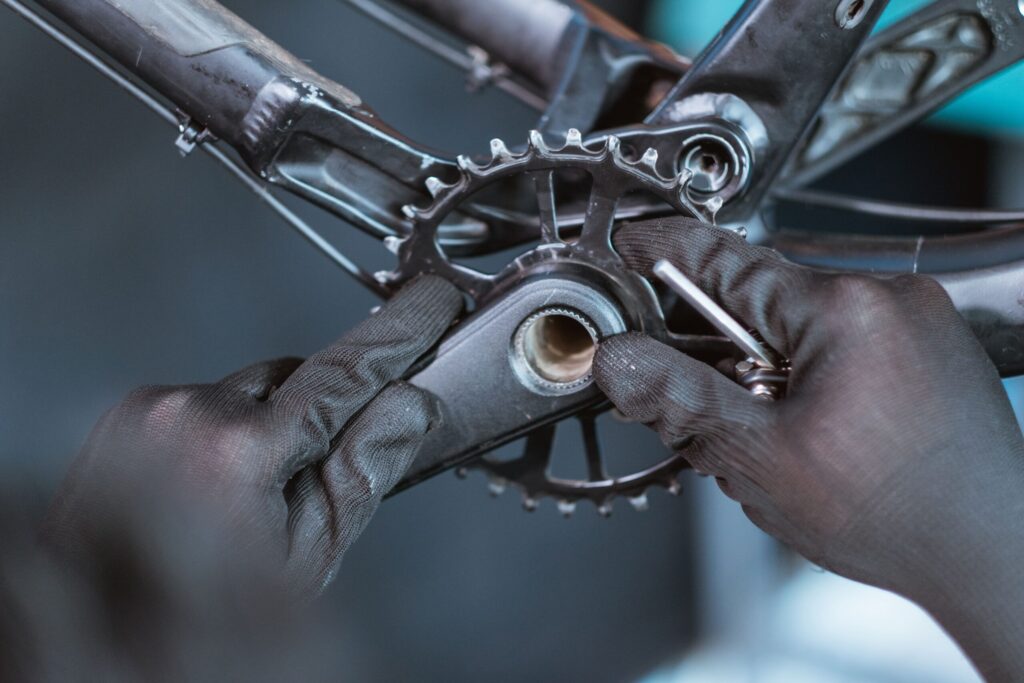
If you’re in the market for a threaded bottom bracket, you have a few different options to choose from. Square taper bottom brackets are the most common type, often found on older bikes that have stood the test of time. If you’re looking for something a bit more modern, Octalink and ISIS bottom brackets offer improved stiffness and durability, ensuring a more efficient ride and greater longevity.
For press-fit bottom brackets, there are several popular types to consider. BB30 and PF30 bottom brackets are often found on high-end road and mountain bikes, prized for their combination of stiffness and light weight. If you’re more of a road or cyclocross rider, you might want to check out the BB86 bottom bracket, a popular choice that strikes a balance between weight and durability.
How Long Does a Bottom Bracket Last?
The lifespan of a bottom bracket can vary depending on a number of factors, including the quality of the bottom bracket, the type of riding you do, and how well you maintain your bike. Generally, a good quality bottom bracket should last between 2,000 and 10,000 miles, depending on these factors.
To maximise the lifespan of your bottom bracket, it’s important to keep your bike clean and well-maintained. Regularly check your bottom bracket for signs of wear, including grinding or clicking noises, play in the bottom bracket, or excess dirt and debris around the area.
It’s also important to make sure your bottom bracket is installed correctly. If the bottom bracket is installed too tight or too loose, it can cause premature wear and damage to the bearings and other components.
Step By Step Instructions For Replacing Your Bottom Brackets
Over time, certain components on your bike may wear down and ultimately need to be replaced, and the bottom bracket is no exception. If you’ve never replaced your own bottom bracket before, the task can seem overwhelming and, at times, daunting. Don’t worry! At Aire Velo Bearings, we’re experts when it comes to bicycle upkeep, and we’re here to walk you through the installation of a replacement bottom bracket for your bike.
Tools Required
If you want your bike to remain roadworthy for a long time, having a toolkit of some sort is essential. Whether it’s for planned maintenance, or an accidental tyre puncture – every cyclist should be prepared for the worst and pack accordingly. When it comes to changing your bottom bracket out for a new one, your tool kit should include:
Bottom Bracket Tool: At Aire Velo Bearings, we provide T47 Bottom Bracket Tools, Enduro Torqtite BB386, Icetoolz M098 to suit 50.4mm, and more. Get in touch for more information.
Torque Wrench: Typically, these wrenches are fairly cheap to obtain and come in various kits or easy to store bars with interchangeable heads.
Grease: Bearing systems rely on grease for minimal wear and smooth operation. It is easy to get a hold of in any DIY or motor vehicle store.
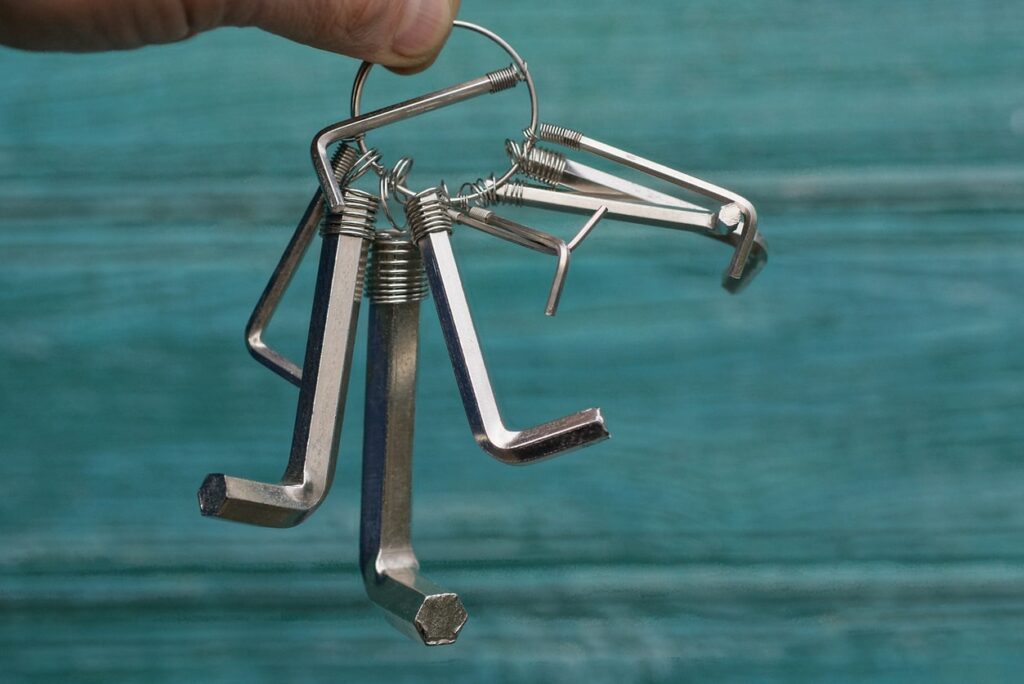
Allen Key Set: Also known as a hex wrench, these tools are small and fiddly and we recommend obtaining a set to ensure you have the correct sizes and replacements.
Rubber Mallet (for press-fit types): Some press fit bottom brackets can be difficult to secure in place, which is why using a rubber mallet to firmly place them can be essential.
Threadlocker (for threaded types): Similarly, you may require a threadlocker to make sure your threaded bottom brackets are fitted correctly.
Rags for Cleaning: Finally, cleaning the area and bearings after changing your bottom bracket is extremely important to guarantee smooth operation.
Safety Considerations
Incorrectly changing your bottom bracket can lead to both issues during the change – including small injuries like cuts or grazes – as well as issues when out riding. During the changing of bearings it’s important to consider safety and the best ways to keep yourself and your bike safe at all times. Some of our tips include:
- Wearing gloves to protect hands and skin from grease or sharp edges.
- Ensure the area you’re working in is well ventilated to minimise the inhalation of fumes from lubricants or cleaning agents.
- Properly secure bike on a stand or other sturdy surface to reduce the risk of it falling during installation, which in addition to causing injury can also damage the bike.
Now that you understand some of the ways you can keep yourself safe, let’s go over – step-by-step – how you carefully and safely change your bottom bracket, starting with the installation of a threaded bottom bracket.
Steps For Installing a Threaded Bottom Bracket
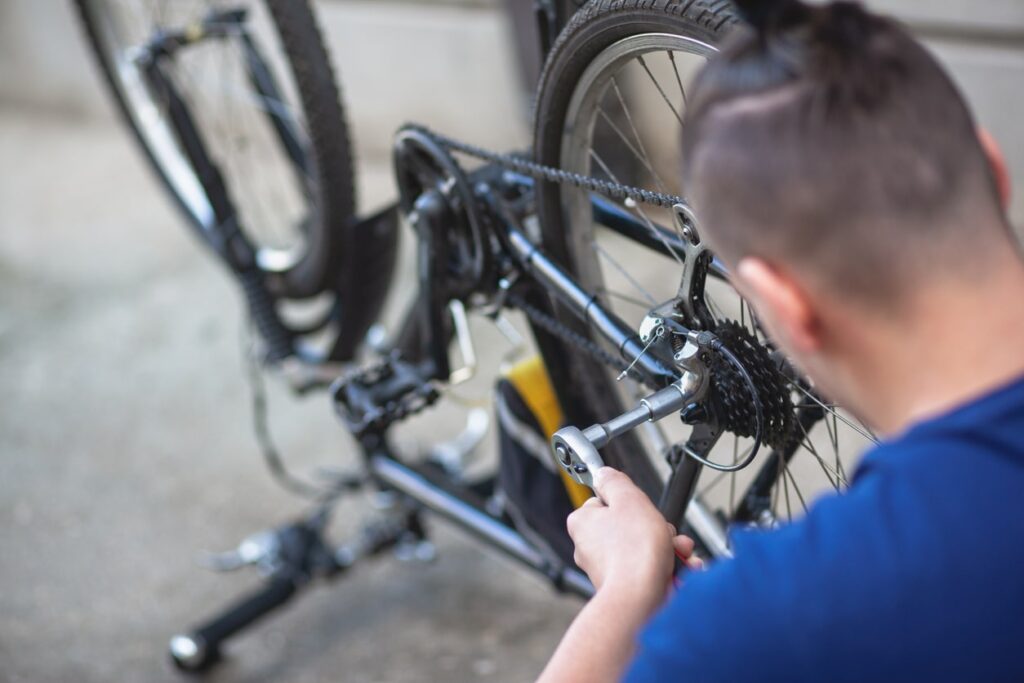
Installing a new threaded bottom bracket on your bike may seem like a daunting task, especially if you have never done it before. Don’t worry, the team at Aire Velo Bearings are here to help. Whether you’re an experienced cyclist who has changed their threaded bottom bracket before, or you’re a novice with no clue where to start, just keep this guide in mind for easy to follow, step-by-step instructions.
Step One – Clean the Bottom Bracket Shell
Use a clean rag to wipe the inside of your bottom bracket shell on your bicycle frame and ensure that it is free from dirt, rust, old grease, or other debris. You may need to clean your rag while doing this to ensure everything is wiped away and the area is easier to work with.
Step Two – Apply Fresh Grease
Take the grease you have chosen for this purpose and apply a generous layer to the threads of the bottom bracket shell. It’s important that grease is replaced as over time it can hold on to dirt and clog the area.
Step Three – Insert Drive-Side Cup
With your bottom bracket tool, screw in the drive side cup (chainring side) and make sure you turn it in the correct direction – which can differ depending on the type of thread used. Tighten it securely with the torque wrench according to manufacturer specifications.
Step Four – Insert Non-Drive Side Cup
Following the same method as the previous step, insert the non-drive-side cup into the other side of the bottom bracket shell, once again making sure it is tightened securely and in line with the specifications put forth by the manufacturer.
Step Five – Install Spindle and Bearings
Along with any accompanying bearings according to your specific bottom bracket and crankset model, install the spindle to allow your bottom bracket to spin. This is an important step that should not be missed as it affects the whole operation of your bicycle.
Step Six – Reassembly and Final Checks
Once the spindle and bearings are installed, it’s time to undertake the final checks to make sure everything is tightened securely and properly aligned, and then reassemble the bottom bracket by reattaching the crank arms and pedals.
Steps For Installing a Press-Fit Bottom Bracket
While it is similar to the threaded bracket, the application of a press-fit bottom bracket is totally different and may require more intricacies to get it into place properly. That’s why we have created this separate guide for our customers who use press-fit bottom brackets.
Step One – Prepare the Bottom Bracket Shell
It’s important to use a clean rag to clean the bottom bracket shell thoroughly, making sure there are no remains of old grease, dirt, rust, or other contaminants that can cause blockages if left behind after installation.
Step Two – Align the Bearings
Using the holes in the bottom bracket shell as a guide, carefully line up the bearings. It’s important to make sure they are perfectly straight to avoid unnecessary damage to the frame or the bearings themselves.
Step Three – Press in the Bearings
Using your rubber mallet or a bottom bearing press tool, carefully push the bearings into the frame using even pressure to ensure they go in straight. Don’t start this step until you are sure the bearings are properly aligned.
Step Four – Insert the Spindle
When using a press-fit bottom bracket, fitting the spindle involves sliding it through the bearings. It’s essential that you make sure it moves freely and without unnecessary friction to make sure your bottom brackets don’t get damaged.
Step Five – Install the Crank Arms
Following the crankset instructions for your specific crank arms, reinstall the crank arms correctly and safely. We recommend wearing gloves for this stop to avoid trapping fingers or hitting sharp edges.
Step Six – Perform Final Checks
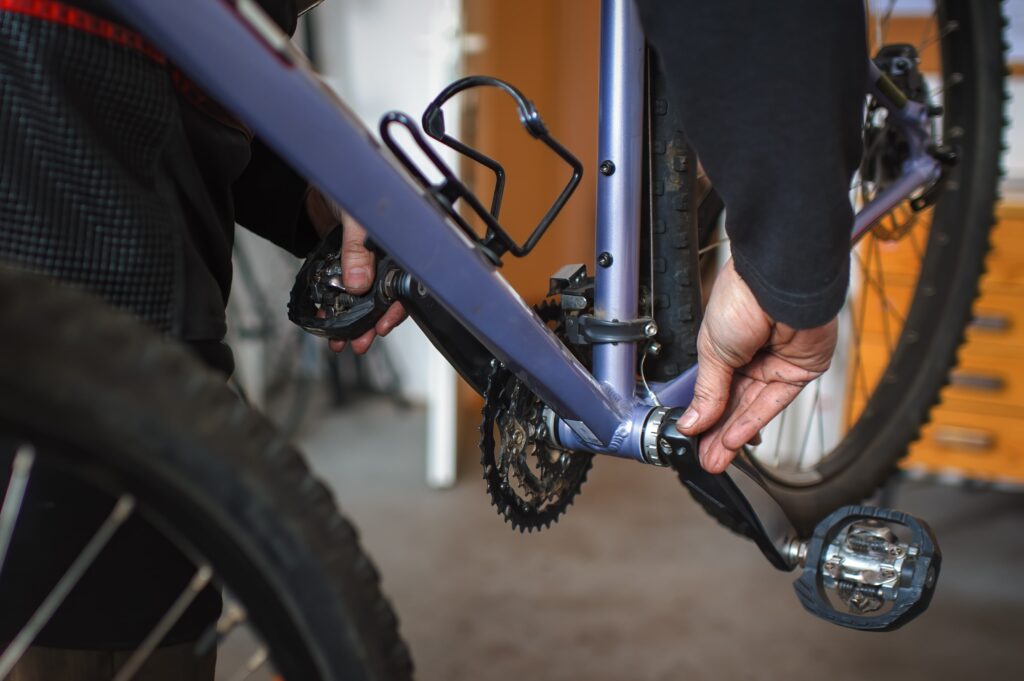
To finish the fitting of your replacement press-fit bottom bracket, take the time to ensure all parts are properly fitted and there is no unevenness or wobble in the crankset. If this occurs, you must track down the cause of the issue and resolve it before getting on your bike.
How to Know When Your Bottom Bracket Needs Replacing
If you’re experiencing any of the following issues, it’s a sign that your bottom bracket may need replacing:
- Grinding or Clicking Noises: If you hear a grinding or clicking noise when you pedal, this could be a sign that the bearings in your bottom bracket are worn or damaged. This can also indicate that the bottom bracket is dirty or poorly lubricated.
- Play in the Bottom Bracket: If there is any noticeable movement or play in the bottom bracket area when you wiggle the cranks or frame, this could be a sign that the bottom bracket is worn or damaged. This can also be caused by loose or worn-out bearings.
- Excess Dirt and Debris: If you notice an excessive amount of dirt or debris around the bottom bracket area, this could be a sign that the seals on the bottom bracket are damaged or worn. This can allow dirt and water to get inside the bottom bracket, which can cause premature wear and damage.
If you’re experiencing any of these issues, it’s best to have your bike inspected by a professional mechanic. They can help you determine if the bottom bracket needs replacing or if there are other issues that need to be addressed. A professional mechanic can also help you choose the right type of bottom bracket for your bike and riding style.
Get in touch with Aire Velo Bearings today!
Whether you want to know more about bottom brackets, or you’re in the market for some high quality bike bearings, our team at Aire Velo Bearings are here to help! We offer a range of bearing options for bottom brackets, including stainless steel and hybrid ceramic, BMX bottom bracket bearings, and Campagnolo bearings. Contact us today to find out more!
For more information, check out our blog! It’s full of useful information – including a guide on how to measure headset bearings!

