Stop Struggling with Tight Tyres!
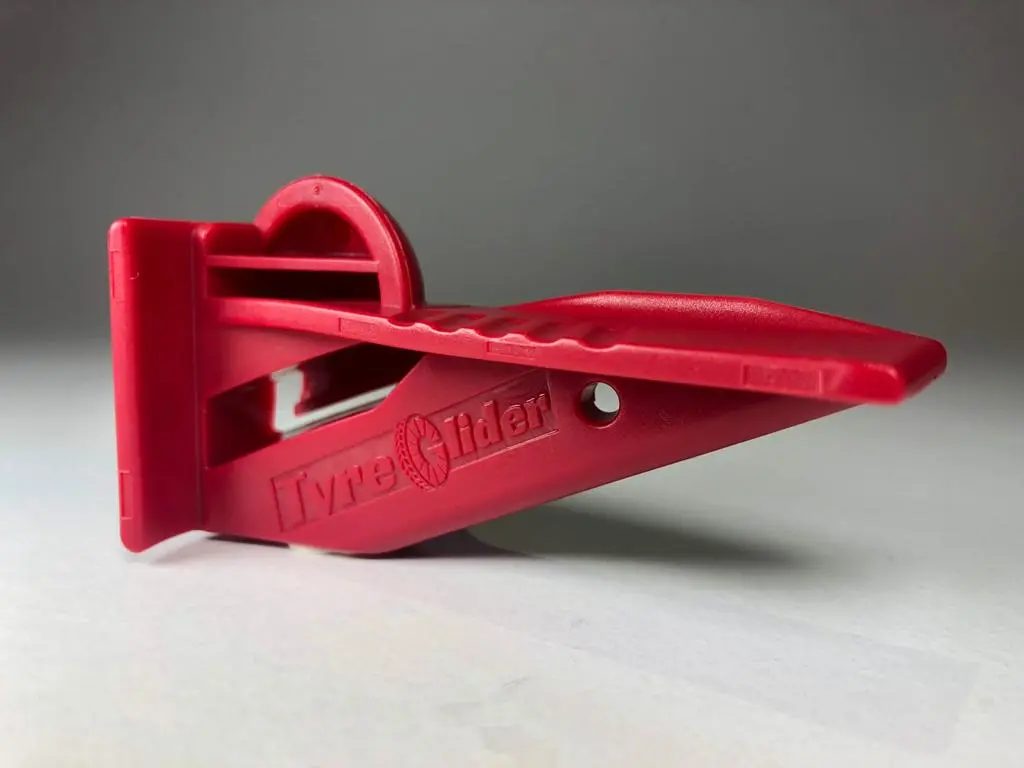
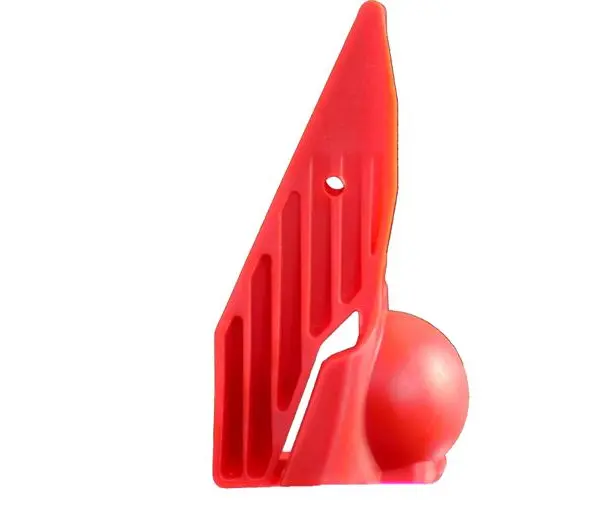
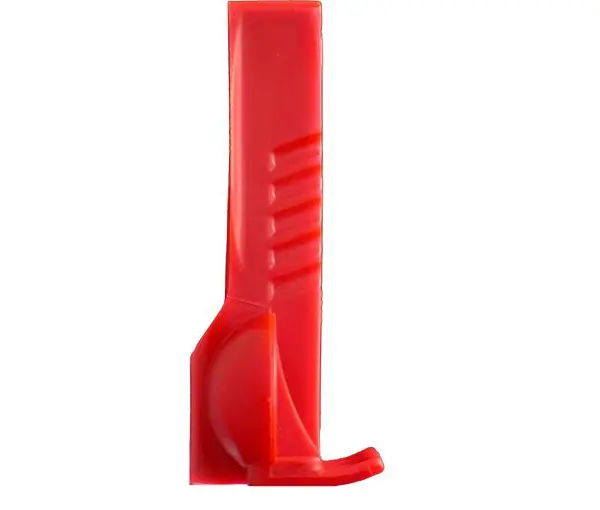
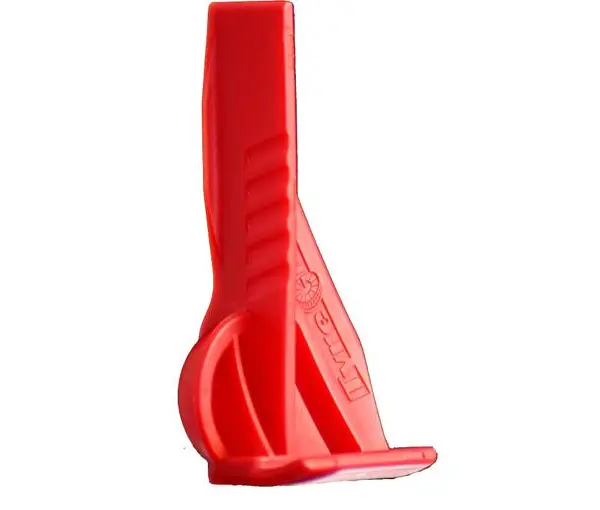
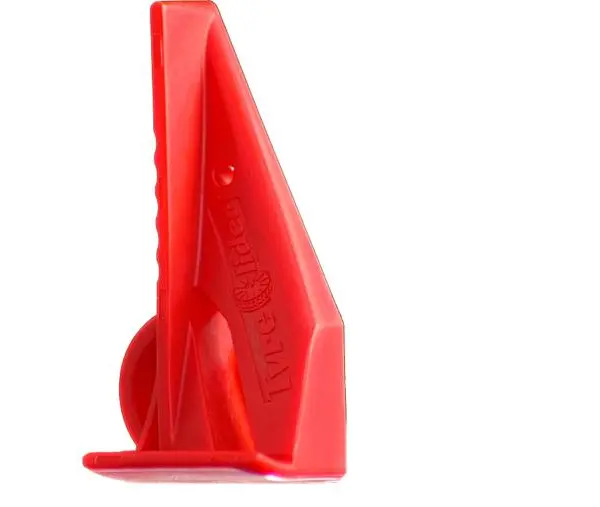
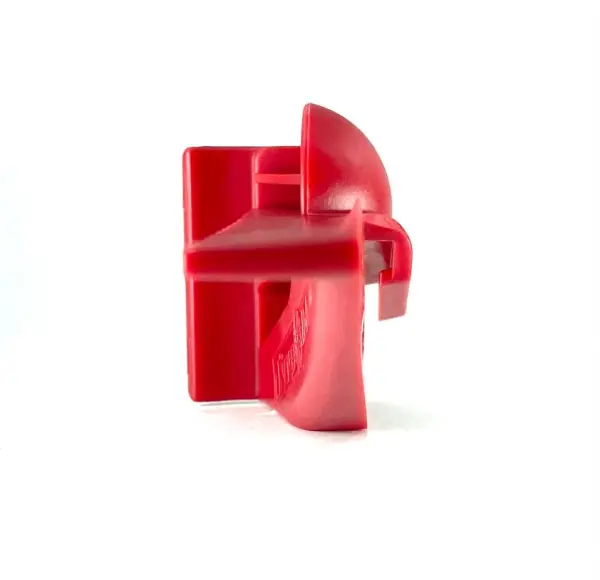
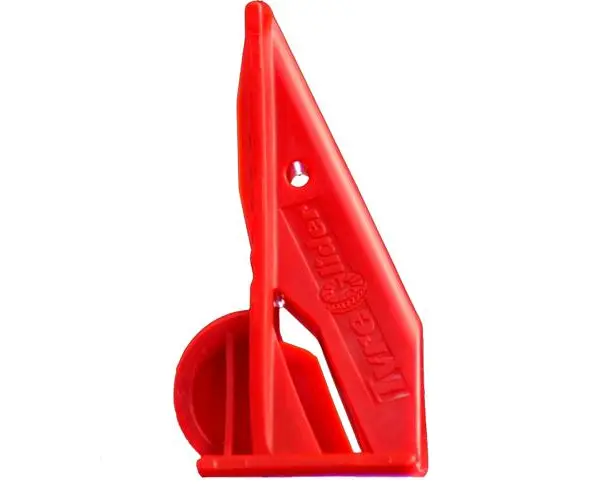
If you’ve ever found yourself trying to change a tight-fitting tyre on your bike without success, the Tyre Glider tyre lever is the perfect solution for you! The Tyre Glider works by safely scooping beneath the tyre bead, allowing swift removal of the inner tube, tread, and casing.
Made using incredibly strong, durable plastic, the Tyre Glider is compact enough to take on your off-road cycling adventures or to properly maintain your road bike between long journeys.
How To Use the Tyre Glider:
The Tyre Glider can be used to remove stubborn tyres from your bike and change them over for a new set. There could be many reasons why you would need to do this, from damage to aesthetics, and the team at Aire Velo Bearings are here to make the change as simple as possible.
Materials needed:
- Bike Tyre Glider
- Replacement bike tyre
- Bike tyre levers (optional but recommended)
- Pump (to inflate the tyre after installation)
Step-By-Step Instructions:
Preparation:
- Make sure your working space is suitable, preferably a flat surface.
- Position your bike upside down so it rests on the handlebars and seat.
- If your bike has rim brakes, release them for easier tyre removal.
Remove the old tyre:
- Locate the valve stem on the inner tube. Using your fingers, unscrew the valve cap and deflate the tyre entirely by pressing down on the valve.
- Start at the opposite side of the valve and insert a tyre lever between the tyre bead and the rim. Use the lever to lift the tyre bead over the edge. Repeat this step at a few points along the tyre’s circumference until one side of the tyre is completely off the rim.
- Once one side is off, remove the inner tube from the tyre. Be careful not to pinch or damage the pipe.
Install the new tyre:
- Inspect the new tyre for any signs of damage or debris. Make sure it’s the correct size and type for your bike.
- Starting at the valve hole, insert one edge of the new tyre onto the rim. Work your way around the perimeter, using your hands to push the tyre bead over the edge of the rim. This step may require some effort, especially for tight-fitting tyres.
- If you’re having difficulty installing the tyre with your hands alone, you can use a tyre lever. However, be cautious not to pinch or puncture the tube while using the lever. Using a tyre lever is optional but can provide additional leverage if needed.
Inflate and align the tyre:
- Before inflating the tyre, check that the inner tube is positioned correctly inside the tyre without any twists or folds. Ensure the valve is through the valve hole in the rim.
- Begin inflating the tyre gradually, using a pump. Regularly check that the tyre is sitting evenly on the rim. Inflate the tyre to the recommended pressure as indicated on the tyre’s sidewall. Be careful not to overinflate.
- Once inflated, inspect the tyre to ensure it’s seated evenly on the rim. Adjust it if necessary.
Final touches:
- Tighten any quick-release levers or axle nuts loosened during the tyre removal process.
- Re-engage the rim brakes if you have them on your bike.
- Check the tyre pressure one more time and adjust if needed.
- Screw the valve cap back onto the valve stem.
Congratulations! You have successfully used a tyre glider to change your bike tyre. Remember to dispose of the old tyre and any packaging properly. Enjoy your ride with the newly installed tyre!






Reviews
There are no reviews yet.