For many cyclists, changing an inner tube can seem daunting. However, with the right tools and some know-how, it’s a task that can be easily mastered. Whether you’re a seasoned cyclist or a beginner, understanding how to change your inner tubing is an essential skill that can save you time and hassle, especially during those unexpected flat tyre moments.
At Aire Velo Bearings – expert providers of various bicycle supplies – we offer inner tubing for bicycles, and we understand that changing your inner tubing may seem complicated. That’s why our team has put together this guide to help streamline the task!
Understanding Your Bicycle’s Inner Tubing
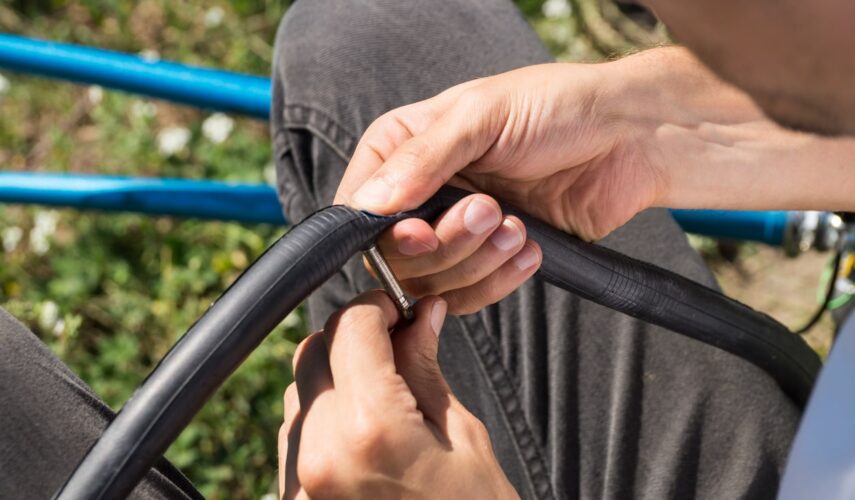
At the heart of a smooth cycling experience is the inner tube, a rubber, balloon-like structure nestled inside your tyre. It plays a crucial role, not only in cushioning your ride but also in absorbing the shocks from uneven roads and paths. This hidden yet essential component ensures that your cycling journey is as smooth and comfortable as possible.
Inner tubes are not one-size-fits-all; they vary in sizes and valve types to accommodate the diversity in tyre sizes and rim valve holes. The two most prevalent valve types you’ll encounter are Presta and Schrader. Each type has its own unique features and compatibility with different bicycle models. Choosing the correct type and size of the inner tube is pivotal for achieving that perfect fit in your tyre, ensuring optimal performance and durability.

Knowing when to replace your inner tube is key to maintaining this level of performance. The telltale signs are often straightforward – your tyre may consistently lose air, show visible punctures, or suffer from frequent flats. But it’s important to remember that wear and tear aren’t always visible. Over time, inner tubes can degrade and lose their elasticity, necessitating a replacement even in the absence of obvious damage. Regular checks and timely replacements will keep your rides smooth and prevent those unexpected flat tyres that can derail a good cycling day.
Preparing to Change Your Inner Tube
Before embarking on the task of changing your inner tube, it’s crucial to gather all the necessary tools and materials. Being prepared not only makes the process smoother but also ensures that you can handle any unexpected issues that may arise during the tube replacement. Some of these preparations include:
Having All Necessary Tools and Materials: You’ll need a set of tyre levers, a new inner tube, a pump, and, optionally, a wrench (if your bike has bolt-on wheels).
Selecting the Right Replacement Tube: Ensure the tube size matches your tyre. This information is usually printed on the tyre sidewall.
Safety Precautions and Tips: Always work in a safe, flat area and ensure your bike is stable before starting.
Changing an inner tube might seem like a minor task, but doing it right can significantly enhance your cycling experience. With the right tools, a suitable tube, and a focus on safety, you’re set to keep your bike rolling smoothly and reliably.

Step-by-Step Guide to Changing the Inner Tube
Changing the inner tube of your bicycle is a straightforward process that can be mastered with a little practice. To make this task easier, it’s helpful to break it down into simple, manageable steps. Each stage of the process is crucial for ensuring a smooth and safe cycling experience. Let’s walk through these steps together:
- Removing the Wheel
- Release Brakes: If equipped, open the quick-release lever.
- For Bolt-on Wheels: Use a wrench to loosen the nuts.
- Taking Out the Old Inner Tube
- Deflate the Tube: Ensure it’s completely flat.
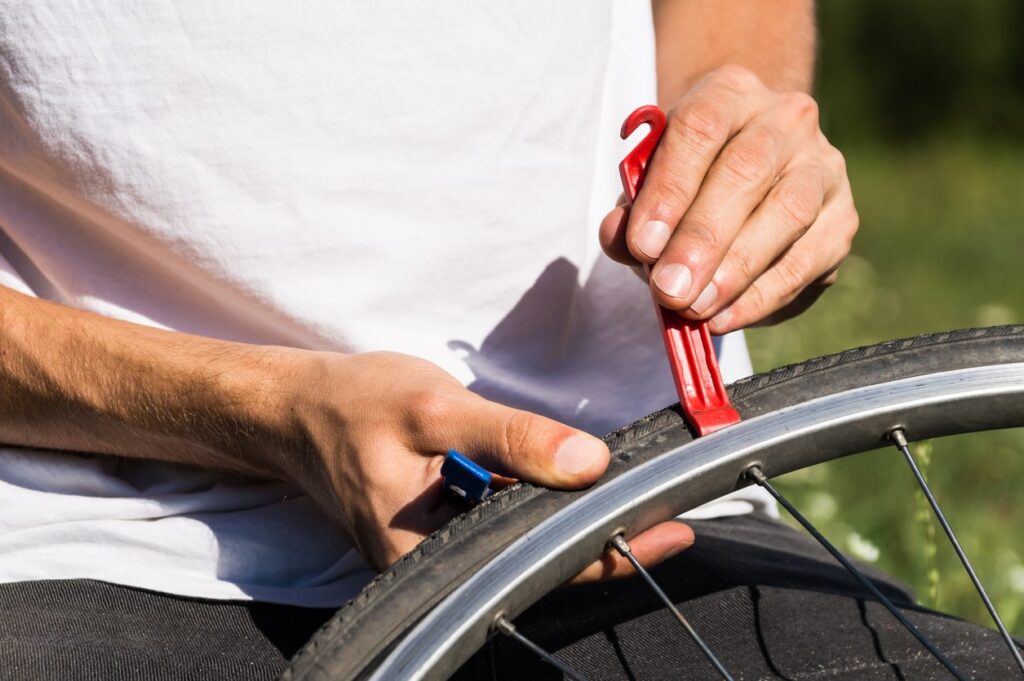
- Remove the Tube: Use tyre levers to pry the tyre away from the rim and extract the old tube.
- Checking and Preparing the Tyre
- Inspect for Damage: Look for sharp objects or damage on the tyre and rim.
- Remove Hazards: Clear any debris that could damage the new tube.
- Inserting the New Inner Tube
- Slightly Inflate the New Tube: This helps it take shape and fit easier.
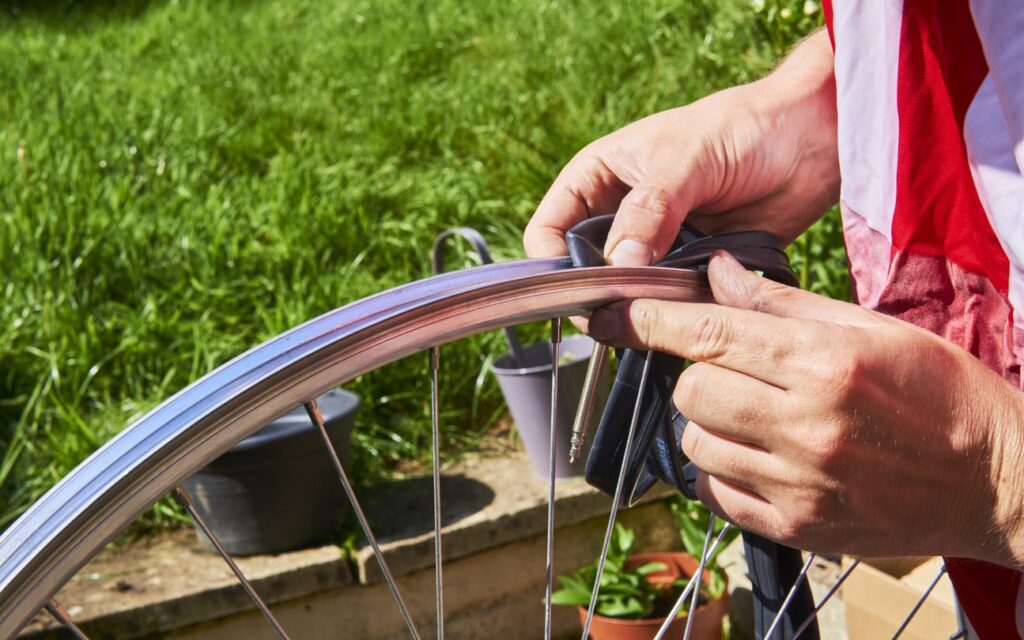
- Insert and Position the Tube: Place it inside the tyre and align it properly.
- Refitting the Wheel
- Reattach the tyre to the Rim: Ensure it’s seated evenly.
- Inflate to Correct Pressure: Use the pressure guideline on the tyre’s sidewall.
- Reattach the Wheel to the Bike: Secure it in place, ensuring it’s aligned and stable.
With these steps, you’re now equipped to handle one of the most common and essential bicycle maintenance tasks. Remember, the key to a successful inner tube change lies in careful attention to each step. Take your time, especially if you’re new to this, and soon you’ll find the process becoming second nature.
Find out more by getting in touch with Aire Velo Bearings today!
For more information, please don’t hesitate to reach out to the team at Aire Velo Bearings! We’re here to help, whether you’re looking for more in-depth tips on changing your inner tubing, or want to know more about our stock of bicycle inner tubing – including the RideNow inner tubing range.
Want to know more about the wider cycling world? We have blogs dedicated to exploring some of the best cycling events around the globe, including an exploration into the history of Unbound Gravel. Check out our blogs now!

